


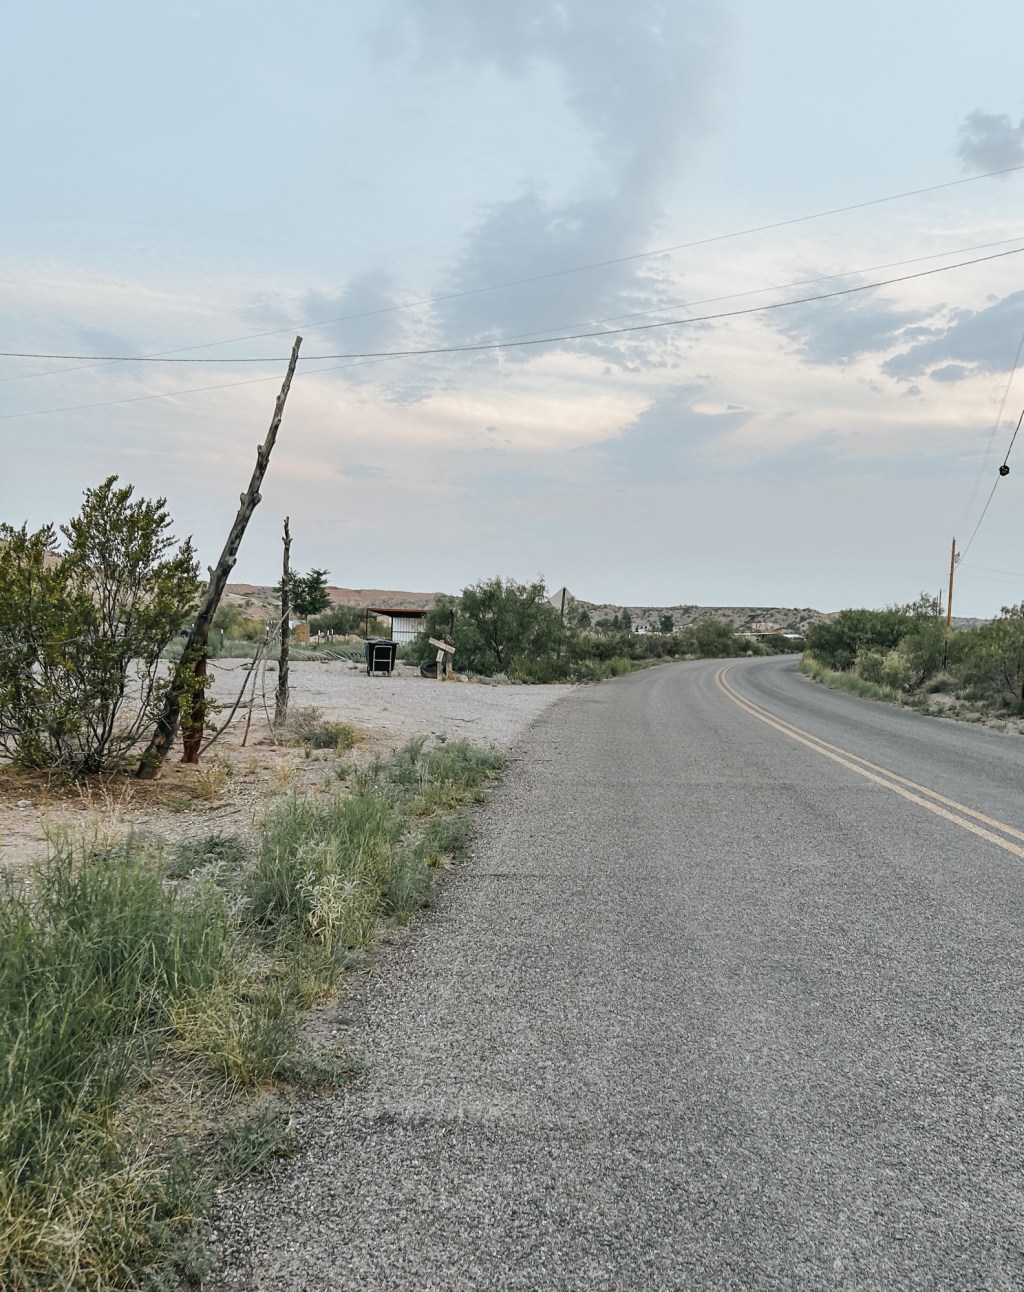


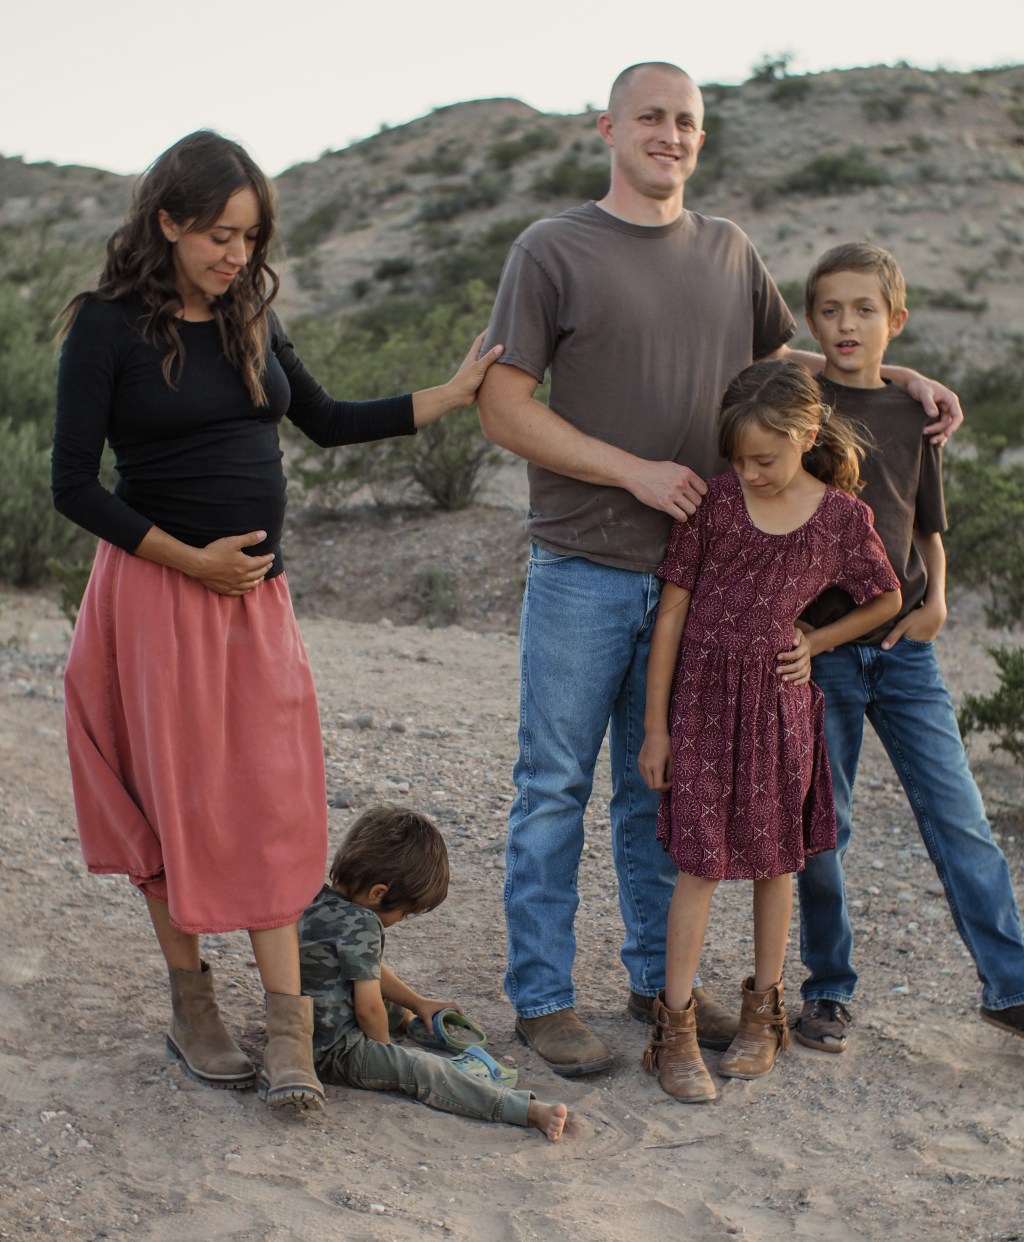

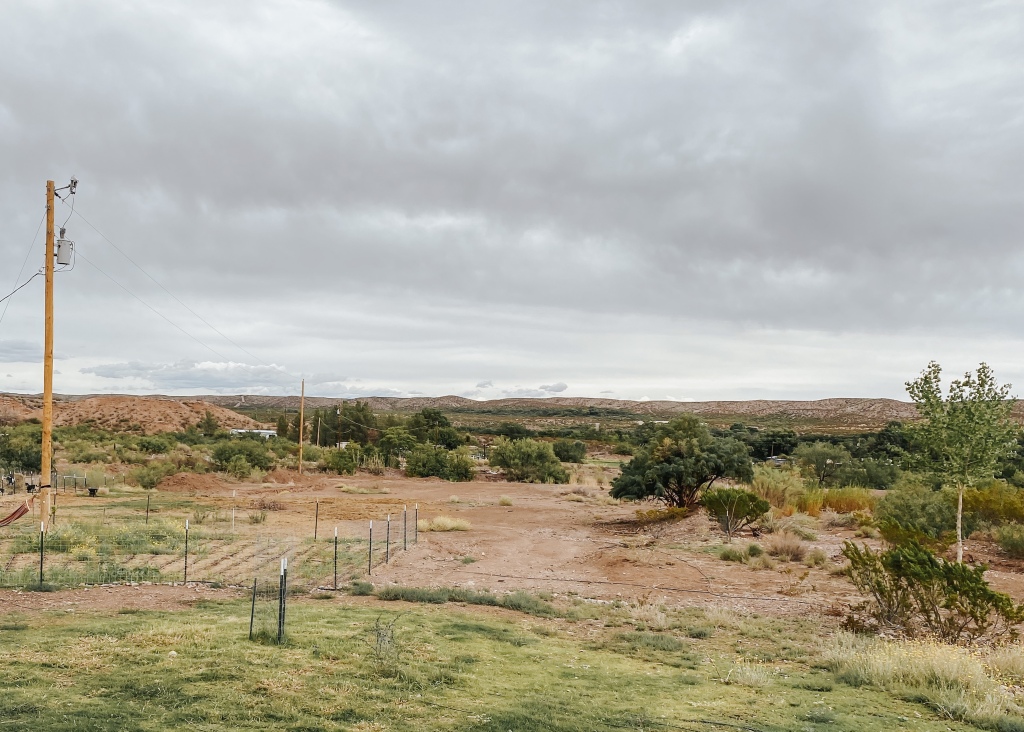

When we sold our house in town and moved out to our 17 acre property two years ago, we didn’t have a house yet. Our family of five moved into a 32 foot fifth wheel where we lived for a year and a half.
I say often, and honestly, that the only way it was really possible was that the back of the rv had a little bunk room for the kids. They were “cozy” (crammed), but it was fun.

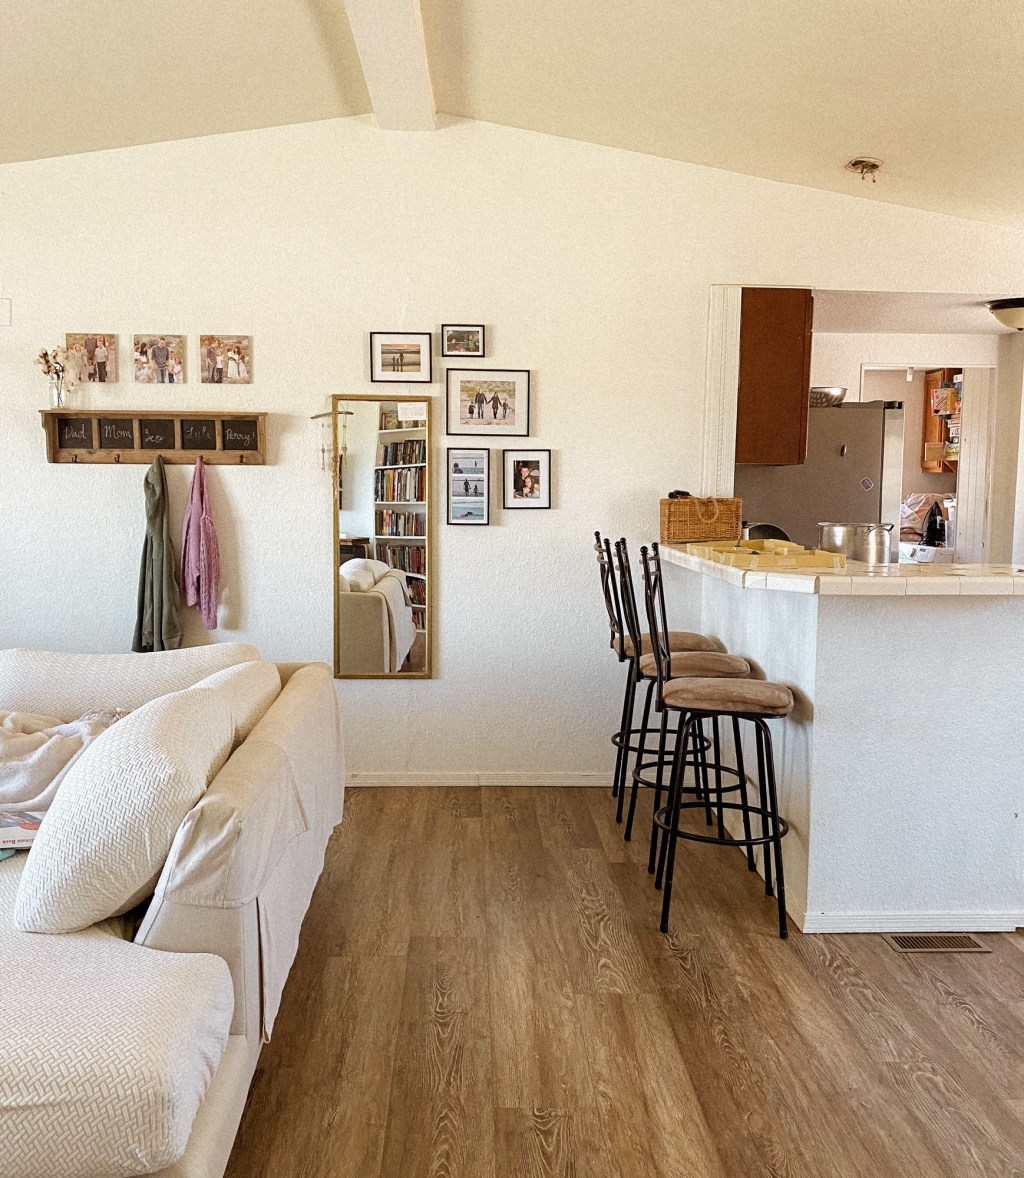
When we were close to moving into the house, the kids were most excited about having their own rooms. All that space to themselves! However, when we actually moved in, they found that it was a “grass is always greener” type of scenario and that they didn’t actually like to have rooms to themselves. So for a while they switched back and forth between the two rooms until we finally deemed one “the bedroom” and the other “the workroom” (we debated between playroom and schoolroom then decided that “workroom” encompassed both, since learning and playing are children’s most important work).
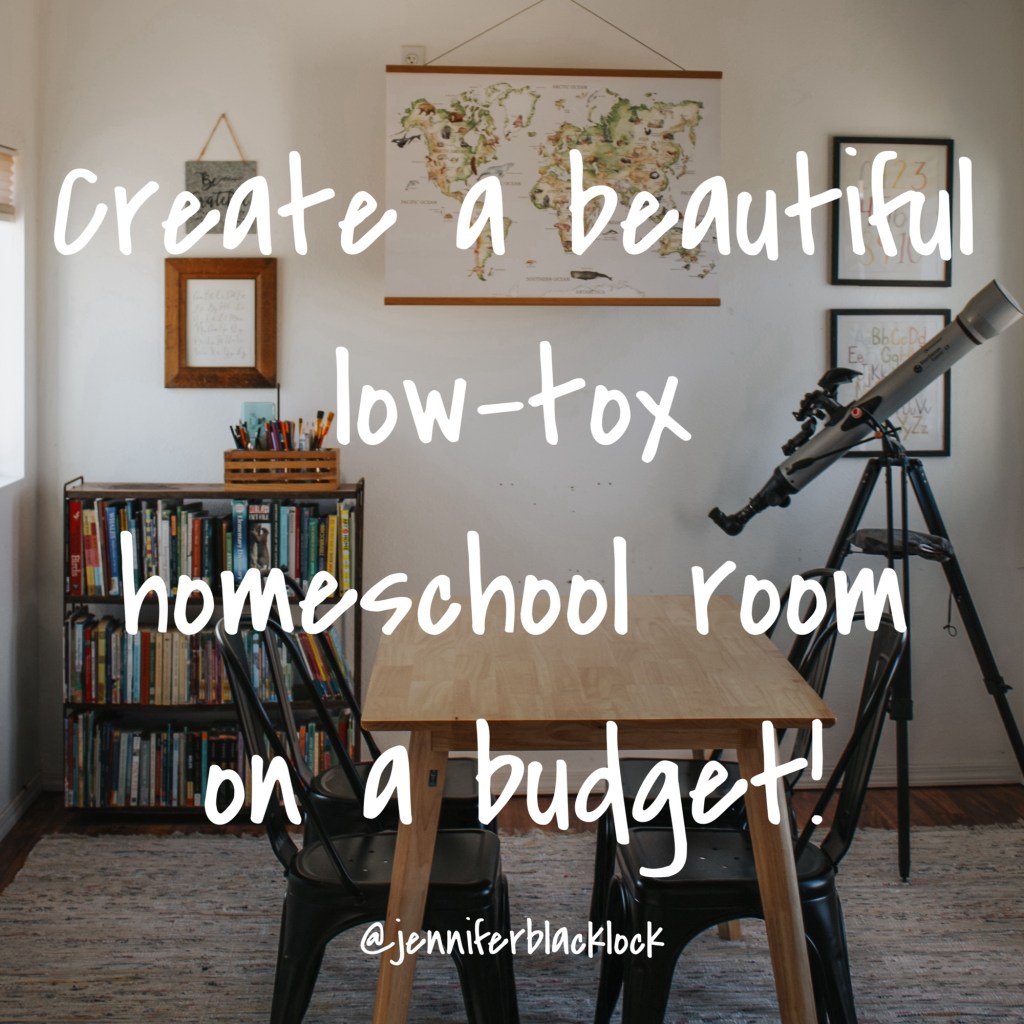
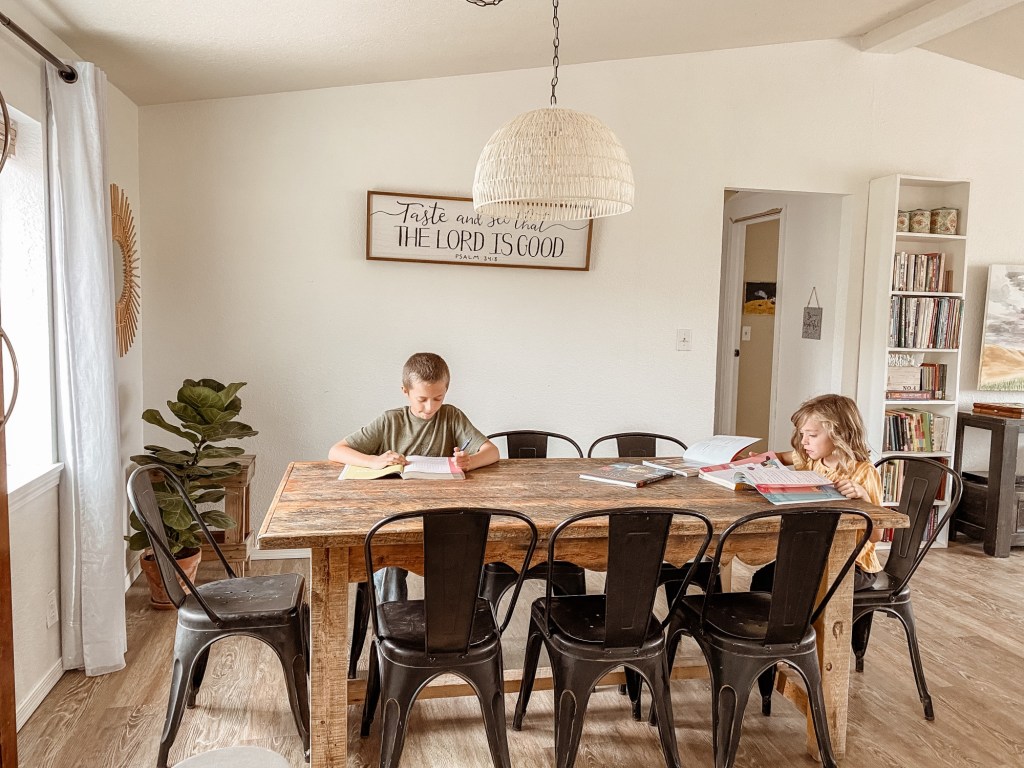
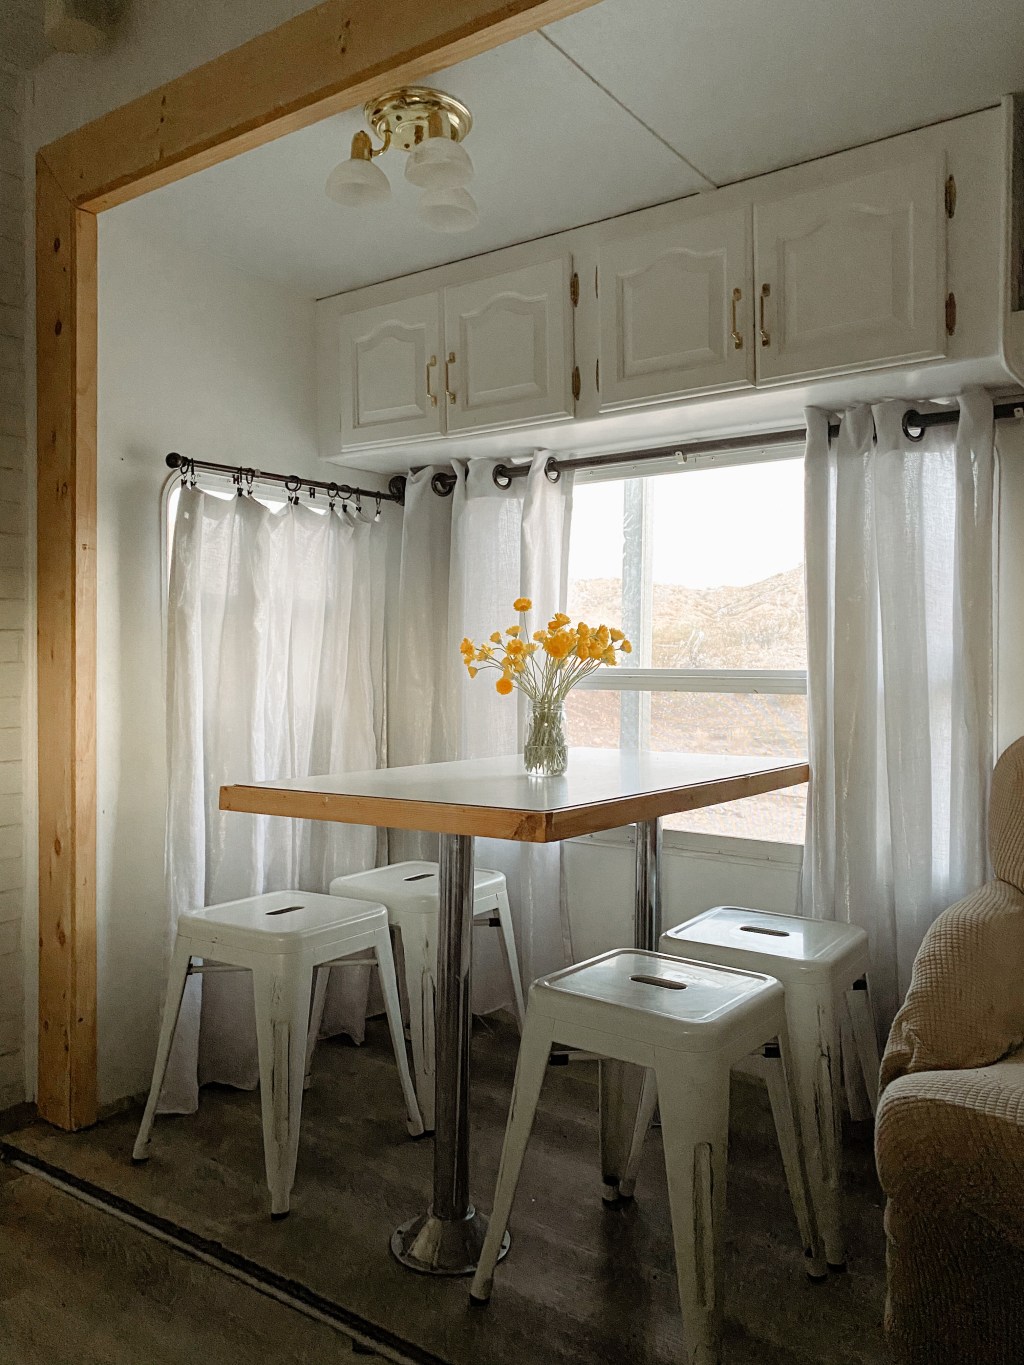
In the workroom, the main thing we needed was a table, so we measured the width of the room and built a long wall-to-wall table out of old 2x6s.

The kids use this table for school-work like journals and math pages as well as for all their “child led” projects, which have primarily, lately, been claymation and lego stop motion. They’ve taped green papers to the wall to create green screen backgrounds, drawn and painted scenes fully equipped with wall paper and rugs made from thrift store fabric scraps. Keeping all their modeling clay organized was an issue for a while, and it was constantly in blobs of mixed colors and scattered on the floor, until we found these organizer boxes which keep everything tidy.

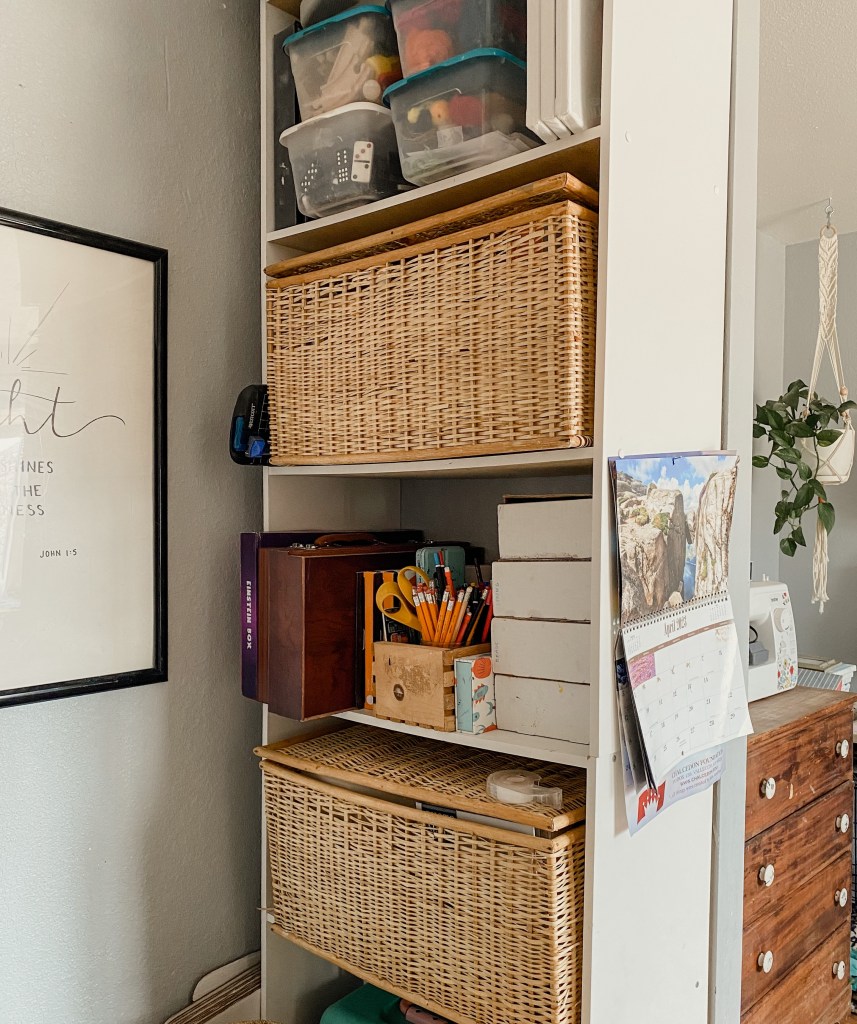

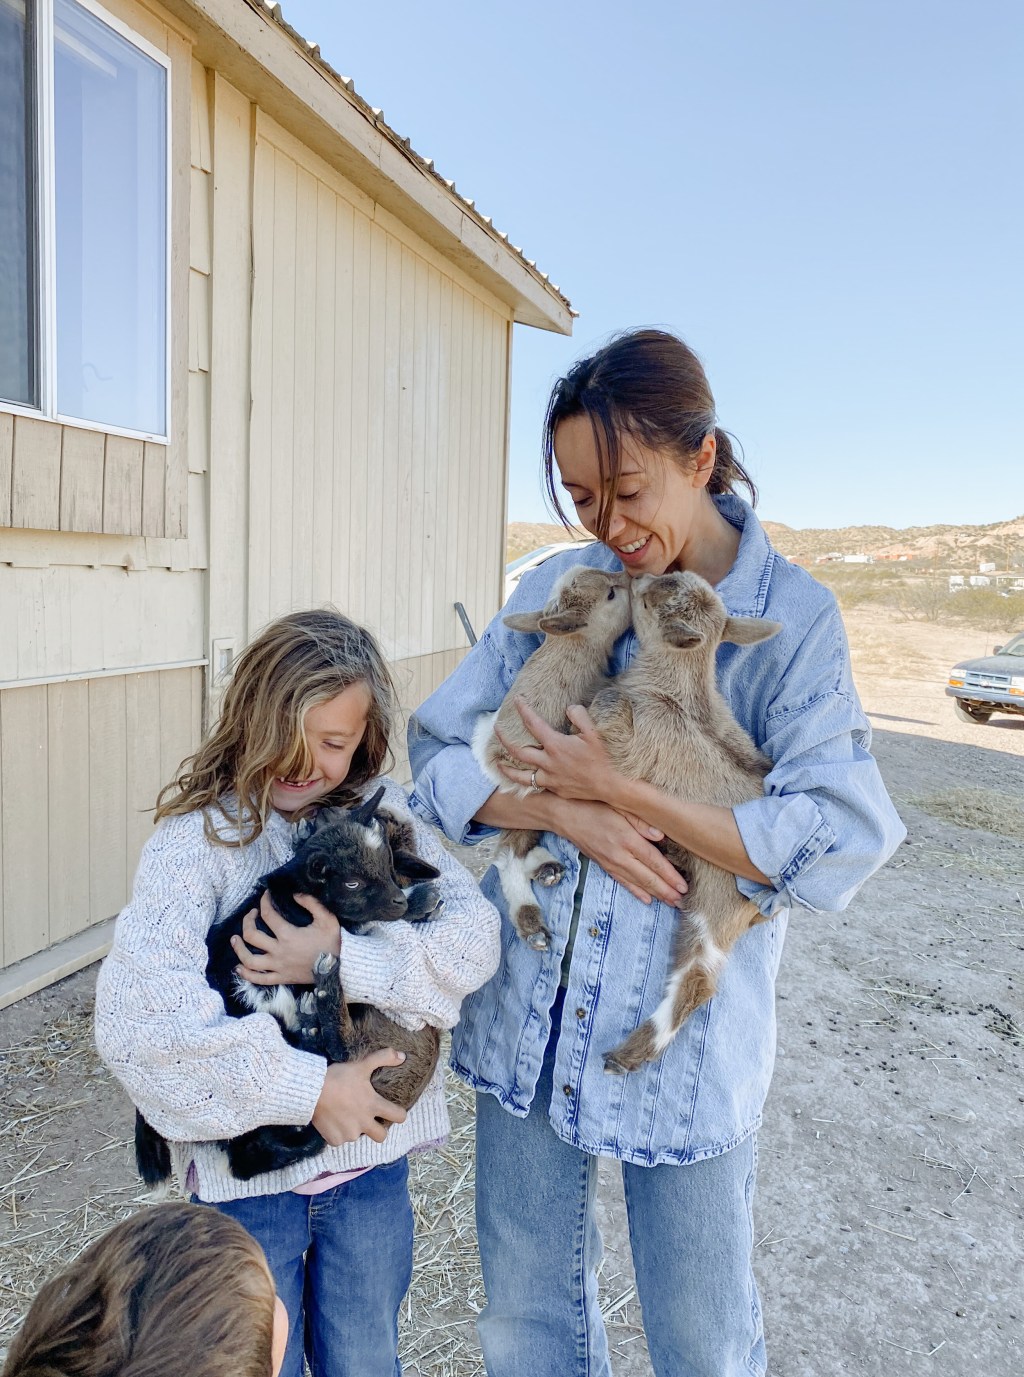
We keep the kid’s few toys and all supplies like beads, paper, metal stamping materials, carving wood and knives, a flower press, paints and colored pencils, yarn, fabric and sewing things on a shelf and in a dresser in this room. The book shelves that are in both rooms, I made out of pallets a few years ago (just cut a pallet where you see a “shelf” and screw a 2×4 to the bottom, give it a quick sanding, and voilà- a cute, rustic, sturdy bookshelf). In the work room we (try to) keep all the nonfiction picture books. At the moment we also have a kennel full of tiny kittens in there (because there’s always some animal being added to the number around here!)


The kids love this room and spend hours here daily building and creating and playing. The empty, open floor and super long table gives them room to spread out, and having a place for everything helps it stay (mostly) neat.
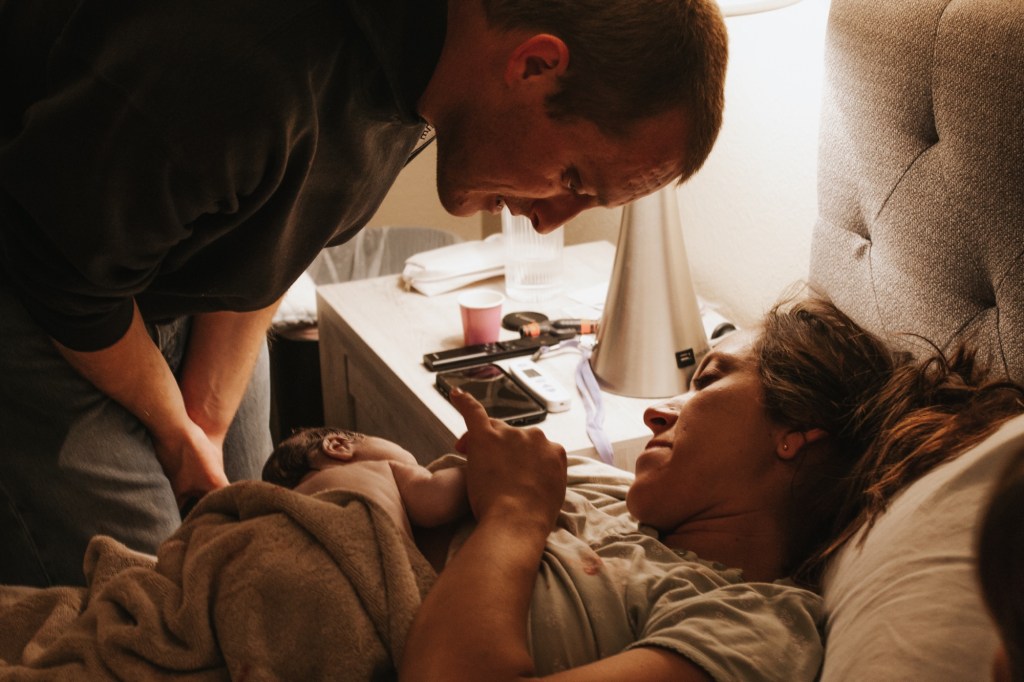
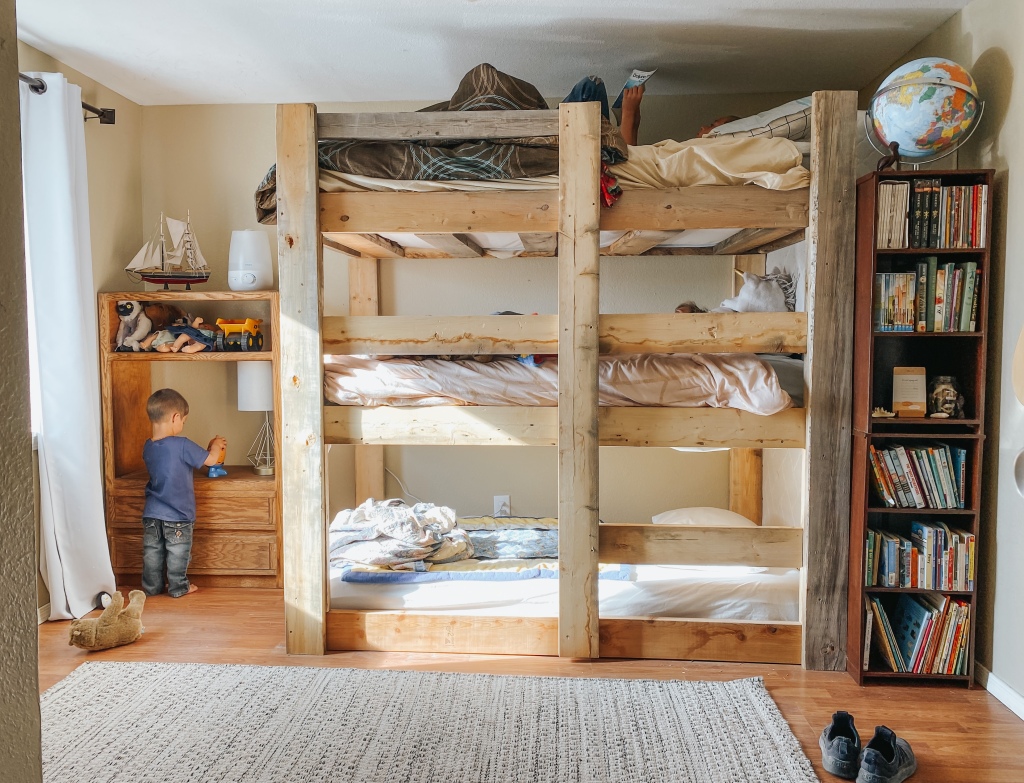
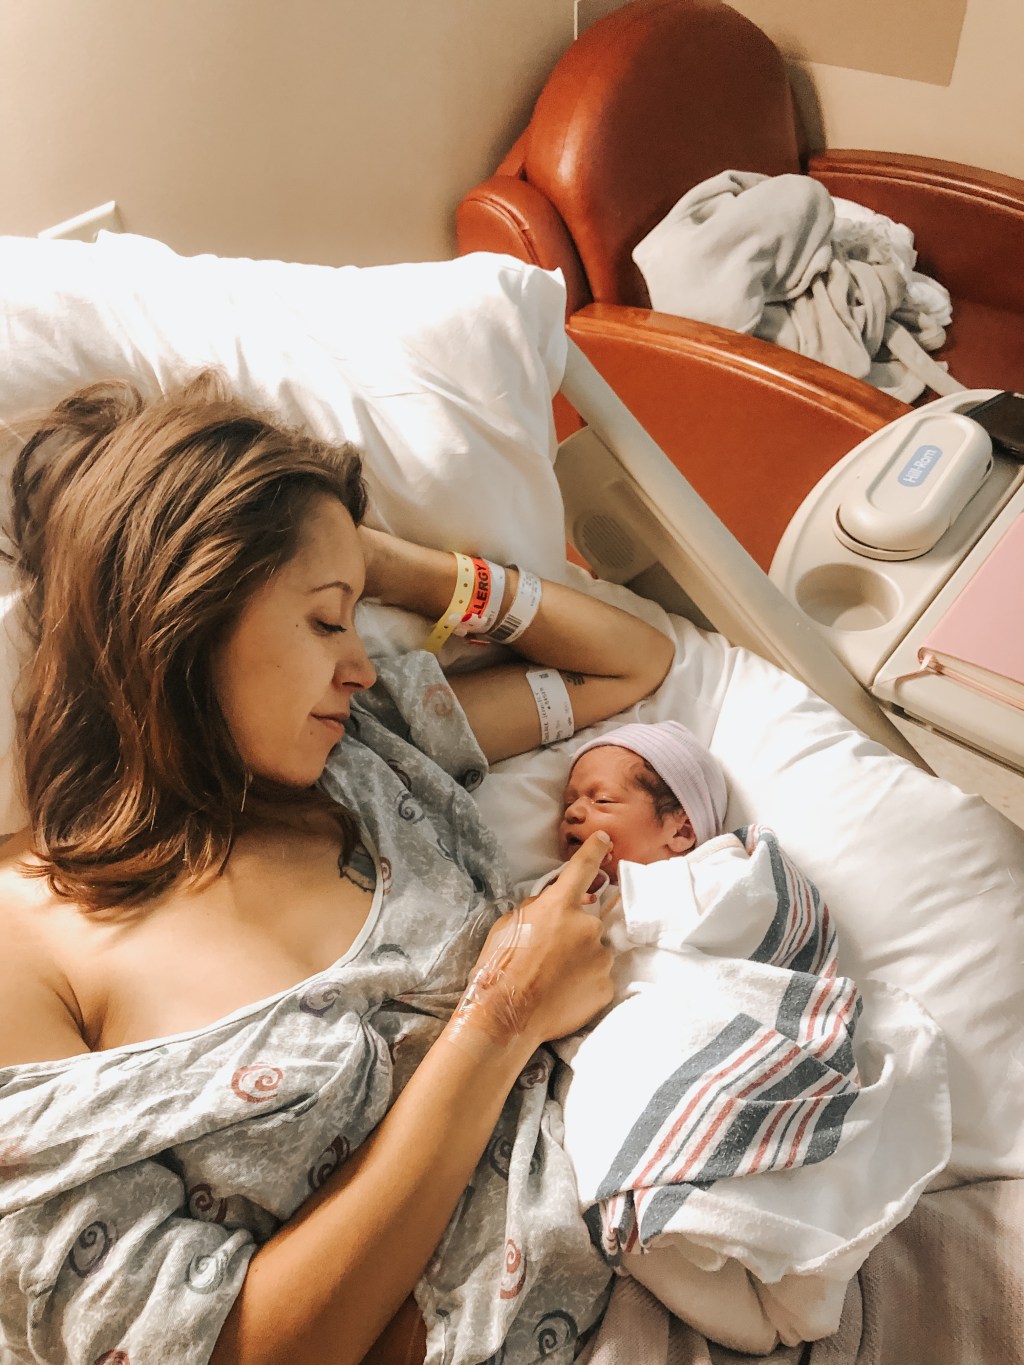
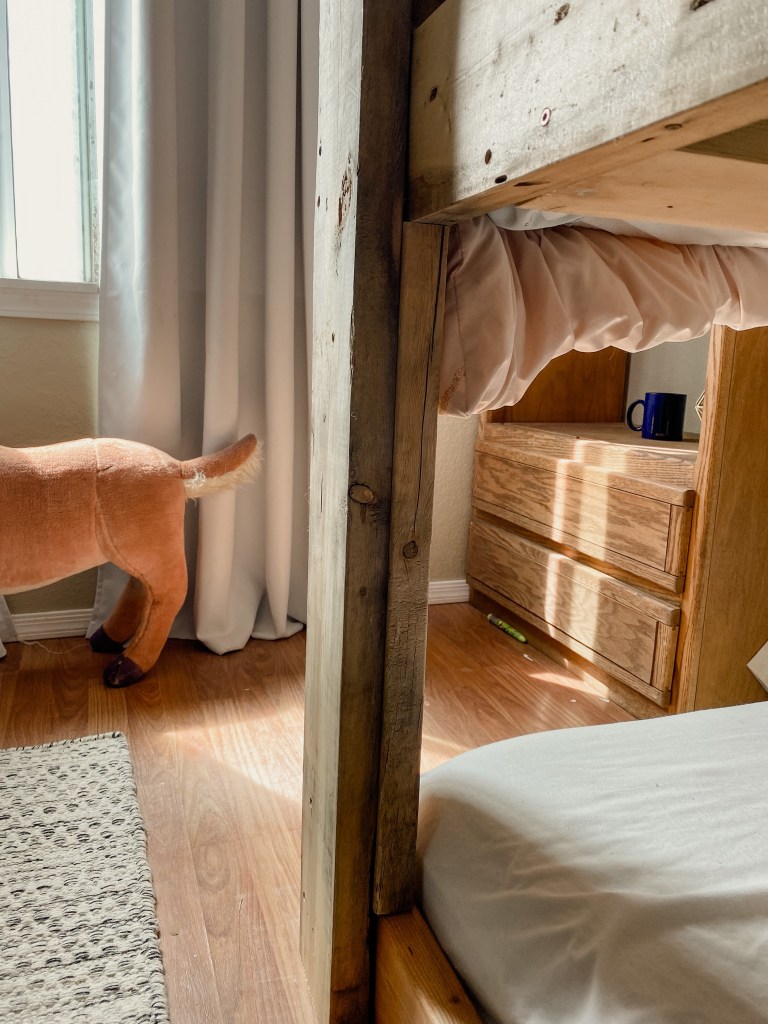
In the bedroom we used to have two twin beds against opposite walls that the two big kids were sharing (and our two year old still in a toddler bed in our room). When we found out about this miracle pregnancy, we decided it was time for the toddler to move to a big bed, which prompted the triple bunk! The kids and I built it one ambitious day, and it was totally doable for one small woman, a ten year old and an eight year old (plus a two year old who kept bringing in a piece of scrap wood which we repeatedly mistook for a board we needed and had to remove after accidentally putting “in place”, more than once! Still cute though.)
Basic directions to build triple bunk bed:
-Measure the mattresses you’ll be using (different twins can have slightly different sizes) and build “frames” with 2x4s or 2x6s to snugly fit the mattresses inside of them. I used 3” all purpose screws for everything.
-One frame (the bottom) will have no slats; for the other two, cut boards the width of the inside of the frame to go in as slats and screw together. Five for each frame, spaced evenly, worked for us.
-Decide headspace between each bed (from the top of the height of one frame to the bottom of the next). We did 24”, this will be just right for a standard ceiling height. Cut eight boards this length. These will support the frames.
-Cut four boards about three times the length of the short support boards (75”, in our case). These will go one at each corner.
Putting the bed together:
-Have screws and drill ready.
-Carefully prop up one slatted frame on top of the non slatted (pretty close to where you want the bed, because once this thing is built, it is SOLID and huge and will be difficult to move far) with the short support boards (make sure no toddlers bring in any scrap wood that looks the right length but is actually a few inches shorter!)
-While balancing the frame in place (this is where you especially need more then one person), line up a long corner board vertically and level at the corner and screw it onto the frames, then screw the short support board to the corner board. Move around to each corner doing the same until it’s well secured.
-Attach the third level the same way.

-Push the bed against the wall (ideally where there’s a stud behind at least one corner post) and screw the corner boards that are against the wall to the wall so there’s no wobbliness.
-Now the fun part: put in three mattresses, and everyone climb all over!
-For the ladder and rail we used another board the same length as the corner ones to go vertically in front (towards the center but not exact), cut two boards the width between that board and the top corner board, screwed one horizontally between the first and second level and the other between the second and third level (the other rungs are just the frame of the bed!)
-We also cut two boards the length between that upright ladder board and the bottom corner board and attached them as rails for the top beds so no one falls off.
Whew! Done!


We also moved our old pantry cabinet in the bedroom and attached closet rods between it and the wall to take care of the closet situation (there’s no closet in the room and up until now the big kids had both been using dressers for all their clothes and all their stuff piled on shelves on top- which looked quite cluttered.) Now all their clothes (including jeans and pants) get hung on the rods and they each have some shelves in the pantry cabinet for their special stuff (you know- sketchbooks, loose dollar bills, marbles, jewelry boxes, a broken RC car, a humpback whale figurine…) as well as one of those fabric cubes each for clothes that cant be hung like socks and underwear.

And the cabinet closes! So the room feels peaceful, not cluttered. Also, in the process of switching stuff around, we always get rid of SO much- stained clothes, trash thats been masquerading as treasure, broken things and no-longer-used things— so thats an added bonus. Plus, having the two dressers out and only one bed “footprint” gives so much more actual floor space, and the bunk bed rails keep blankets from sagging onto the floor, so overall, the room is much tidier.

The kids are loving their bunks, and we’re all enjoying how peaceful and cozy the room is! The little vintage rocking chair was given to us, and I’m soaking up the nights of rocking in it while all three kids fall asleep to me reading Little Men after we pray together. What precious moments!

